Steps To A Professional Air Duct Cleaning
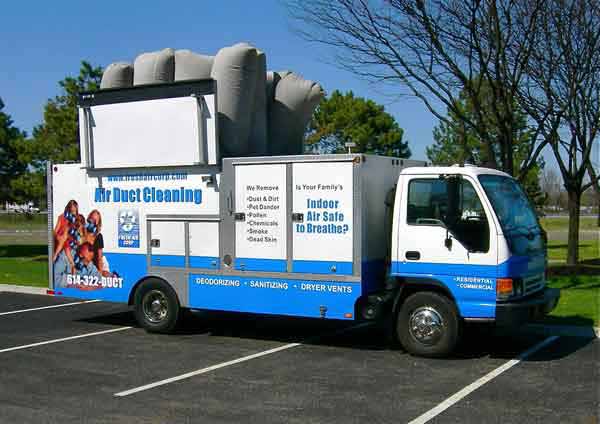
Step 1: Start With The Right Equipment
Cleaning a complex air duct system isn’t a job for a carpet cleaning machine with a hose attached or a tiny vacuum box that exhausts inside your home.
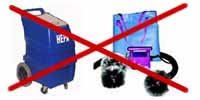
Our “Monster-Vac” trucks create the negative air flow needed to remove even the worst contaminants and pull them outside where they belong.
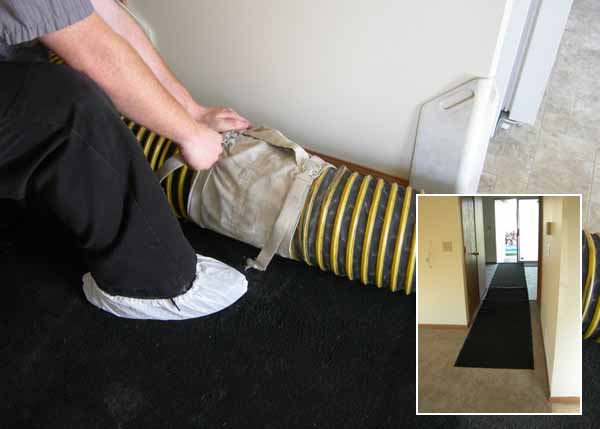
Step 3: Super-Vac
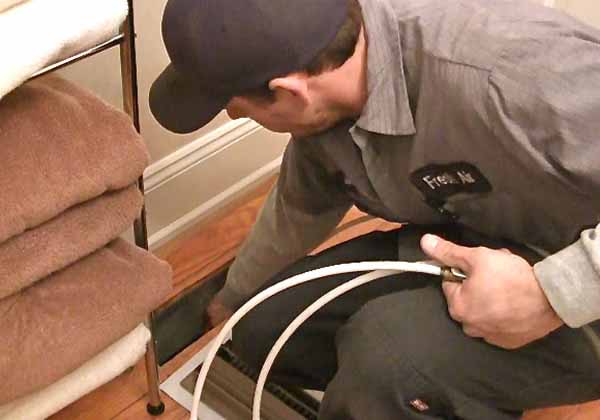
Access to the bonnet and main trunk lines allow us to cover and protect the A-Coil, connect the 8″ vacuum hose and create the massive negative air flow needed to remove the dirt, dust and contaminants that are hiding in the system.

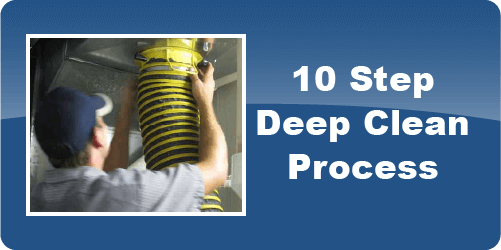
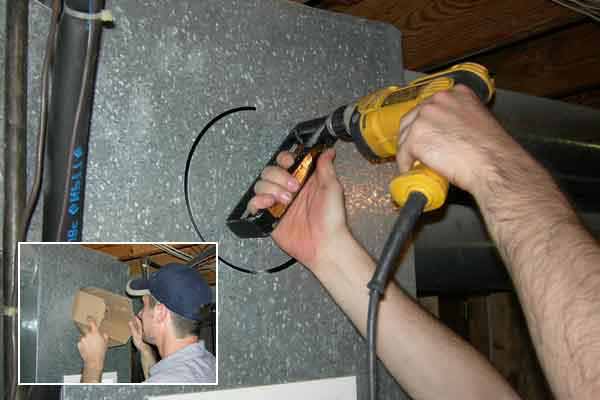
Step 7: Trunk Lines and Plenums
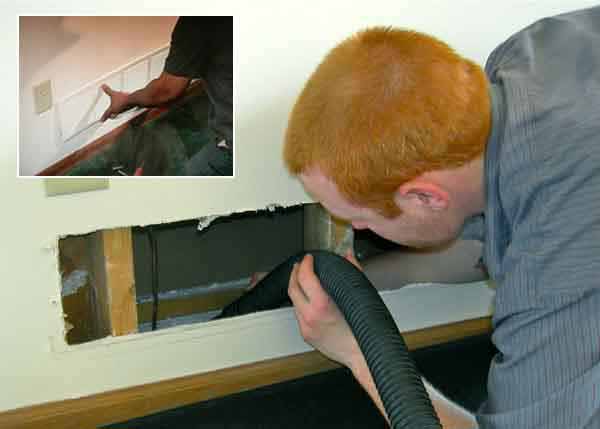
We now access the inside of the trunk lines (supply) and plenums (return air) and clean each one with specialized scrubbing tools.
Small 1″ holes allow access to every area as the dirt is pulled toward the attached vacuum hose.

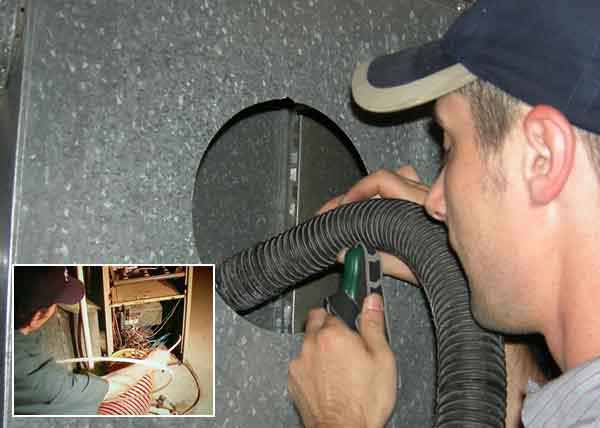
Step 8: Furnace Interior
Our final cleaning step includes the blower, heat exchanger, and treatment of the A-Coil with a non-chemical disinfectant / sanitizer.
The filter is air swept and vacuumed before being reinserted or exchanged with an owner-supplied replacement.

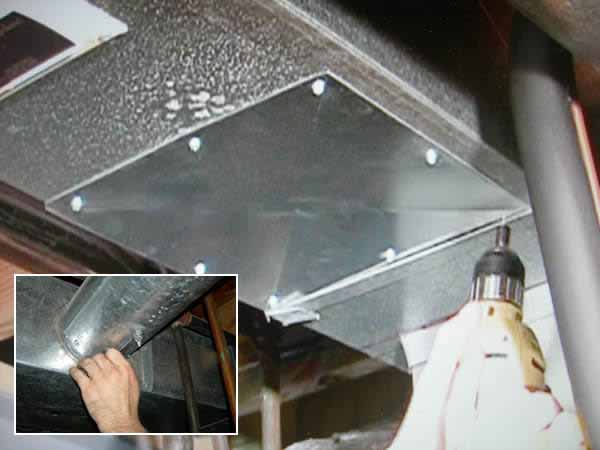
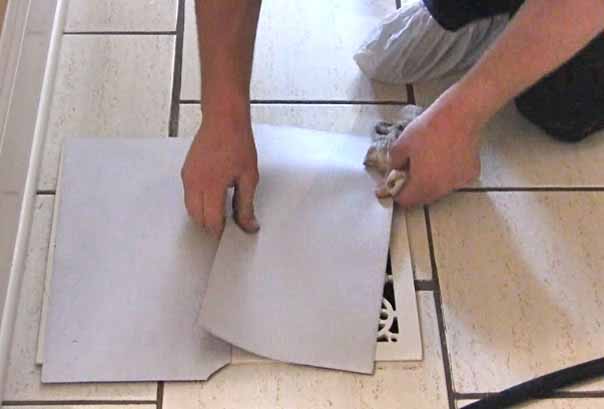
Step 9: Wrapping It Up
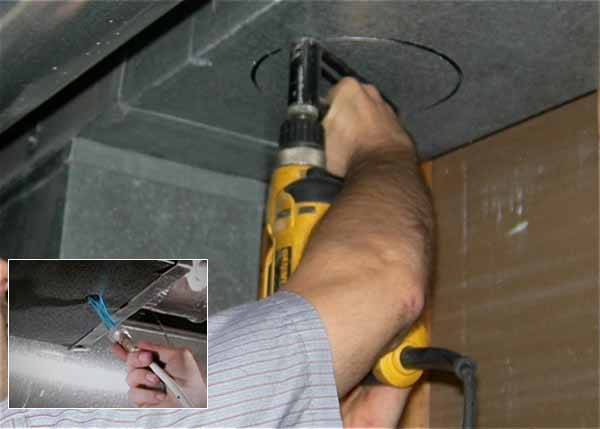
New galvanized access panels are installed over the openings created for the vacuum hose and sealed with sheet metal screws.
Air dampers are returned to their original position, plastic plugs are inserted in the 1″ access holes, and all debris is removed.